IMPORTANT BEFORE INSTALL
-
Make sure you are on the computer that Quickbooks is installed on.
-
Quickbooks must be open and running the company we are connecting with.
-
You must be on an ADMIN user.
- This does not need to be done on individual computers/devices, only the server/host.
When logged in to Retention Pro -
-
Click on DATA at the top of your screen
-
Then select DATA SOURCES from the left side menu
- This will be the default page that opens when you click on Data
-
Click on +Add Datasource at the top right
-
Type the name of your Point of Sale, "QuickBooks", then click CONNECT underneath the QuickBooks logo


2. Once on the next page, click the dropdown and select a good time to sync.
Choose a time when you’re comfortable allocating some of your computer’s processing power to the sync. If your computer stays on overnight, the best option is the hour right after your business closes.


3. Once a time is chosen, click Download


4. This will download a file called MyShopManager.qwc
-
The downloaded file needs to be opened, and its location will vary based on the browser you’re using. See the details below.
Google Chrome: The file will be in a bar on the bottom far left of the browser screen.

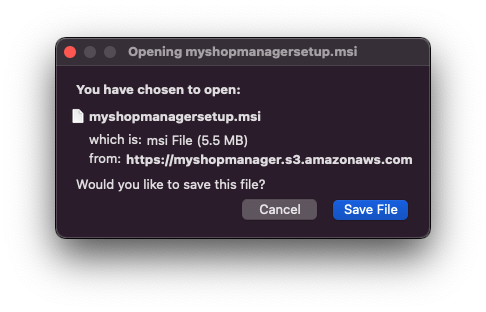
Mozilla Firefox: You will have to click Save File, then click on the down arrow in the top right side

Microsoft Edge or Internet Explorer: Click on the down arrow in the top right corner of the browser window then click Open File

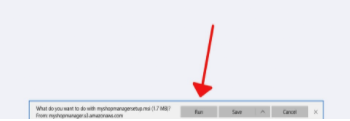
Older versions of Internet Explorer: There will be a “Run” and “Save” button towards the middle of the screen

Now that you have downloaded the installer, you will need to click on it and run it.
Once you run it, the Web Connector window will popup. Click OK


The next window is very important. YOU MUST CLICK YES ALWAYS ALLOW ACCESS and select ADMIN if applicable


Immediately upon clicking continue, you will get another popup, click DONE


Once you click DONE, the Web Connector app will pop up.
Click in the password field, and type myshopmanager


After you finish typing the password, press Enter. When the prompt appears asking to save the password, click YES or press Enter again.


Confirm that the checkbox next to MyShopManager on the left is selected, and that the Auto-Run checkbox is selected as well.


Click on UPDATE SELECTED


You should see two green progress bars moving at the bottom of the window.
It's okay if they remain around 30% - they will stay there during a sync.
This last step is the MOST IMPORTANT.
You MUST click on HIDE. -- DO NOT CLICK EXIT!


To Restart the QuickBooks Web Connector once Installed please see - How to Restart QuickBooks Desktop Web Connector