Establishing a connection with LANKAR
This article is for connecting Retention Pro with the LANKAR system.
To Connect:
The following steps must be performed on the host/server computer.
-
Click on DATA in the sidebar on the left to show more options
-
Then click on DATA SOURCES from the options drop-down
-
Click on “+Add Data Source” in the top right
-
Type the name of your Point of Sale, then click CONNECT underneath its logo from the options.


2. Once on the next page, click the download button.
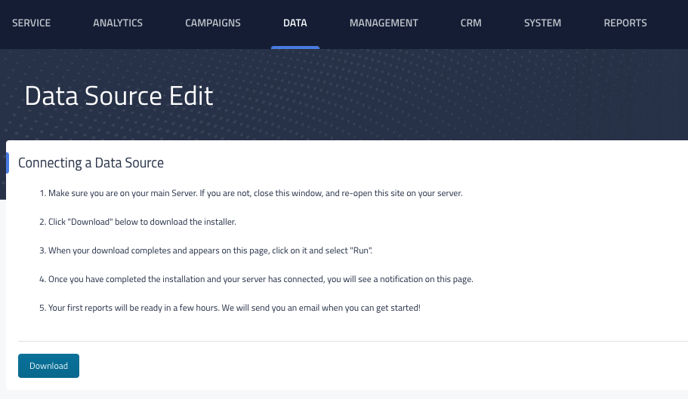

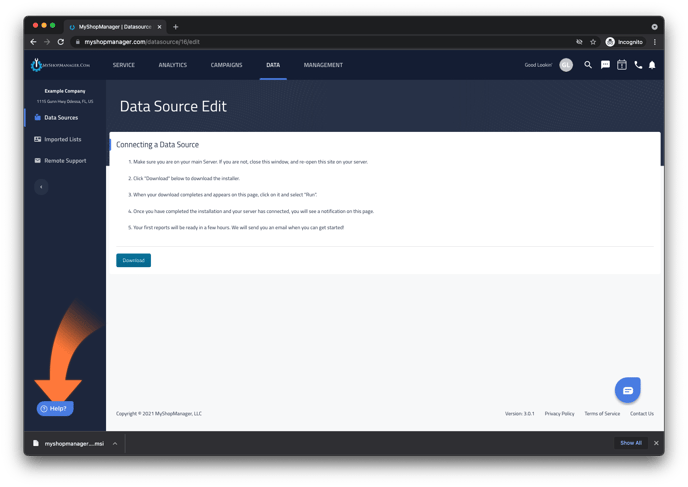
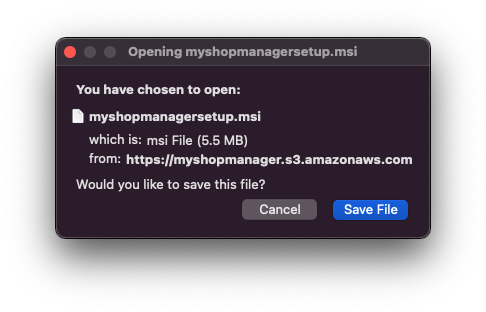
3. This will download a file called myshopmanagersetup.msi The file will be displayed on your screen and will need to be opened. See below:
Google Chrome: It will be in a bar on the bottom of the screen on the far left

Mozilla Firefox: You will have to click Save File, then click on the down arrow in the top right side
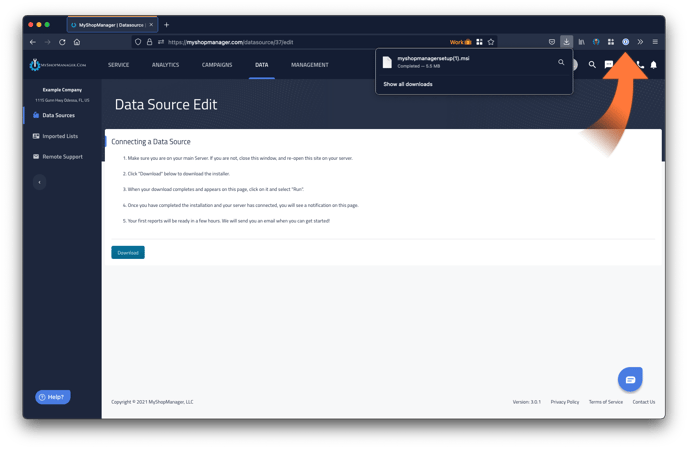

Microsoft Edge or Internet Explorer: Click on the down arrow in the top right side then click Open File
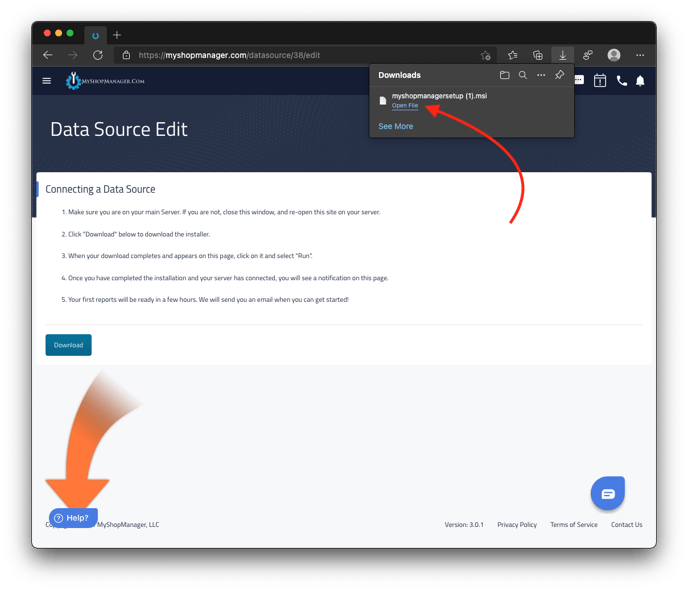

Older versions of Internet Explorer: There will be a “Run” and “Save” button towards the middle of the screen
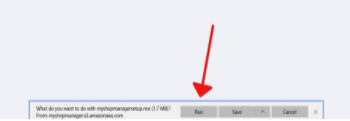

If you are unable to find the download after clicking it, press the Control key and the J key at the same time to display your downloads. You can open myshopmanager.msi from this page.
Now that you have downloaded the installer, you need to click on it and run it.
You will see Welcome to the MyShopManager Setup Wizard.
Click Next
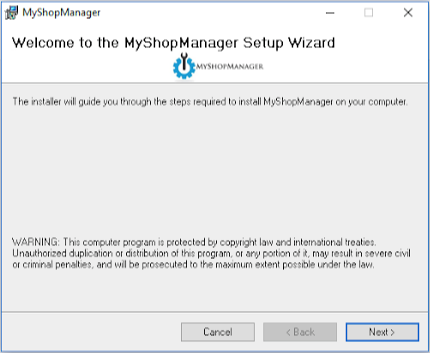

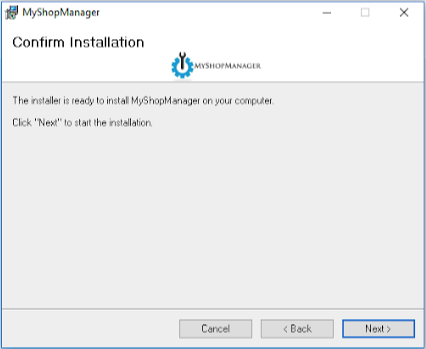
Click Next: Don’t change anything.
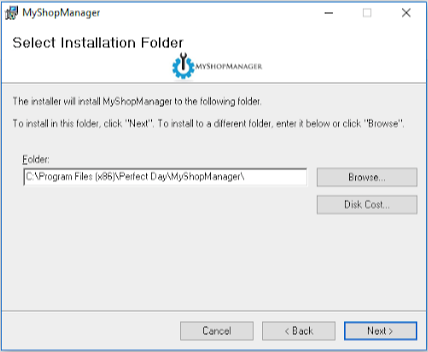

Click Next again.

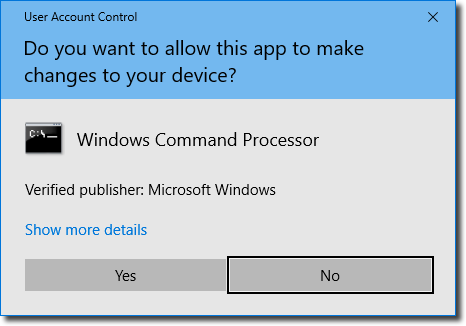
The computer may ask if it’s okay for this app to make changes -
You MUST click YES.

When you see MyShopManager has been successfully installed you may click the close button.
For more information on our connection with Lankar please see LANKAR Retention Pro Capabilities
